Recovery via Emergency Download
Required
- Quality SD card,
4GBor larger (how to check SD card), - The firmware that is shown on the label of the cover of the unit (you should respect the region EU/US etc. and use any corresponding version. For example if firmware is
0456, you can use any04xx. If0356then any03xxand so on), - USB-UART signal converter,
- PC/laptop with PuTTY,
- Main unit removal keys,
- Torx driver,
- Tweezers.
Procedure
Prepare SD card
- Format with
FAT32, set smallest available cluster size. - Extract original firmware to the root of the SD card.
Prepare main unit
- Use removal key to unlock the unit and slide it out.
- Disconnect QuadLock connector.
- Remove top lid from the unit (4 visible screws, 1 hidden under the sticker).
- Lift up the CD drive for main board access.
Prepare and test serial communication
- Set signal converter to
3.3Vlogic level. - Remove purple lock from QuadLock.
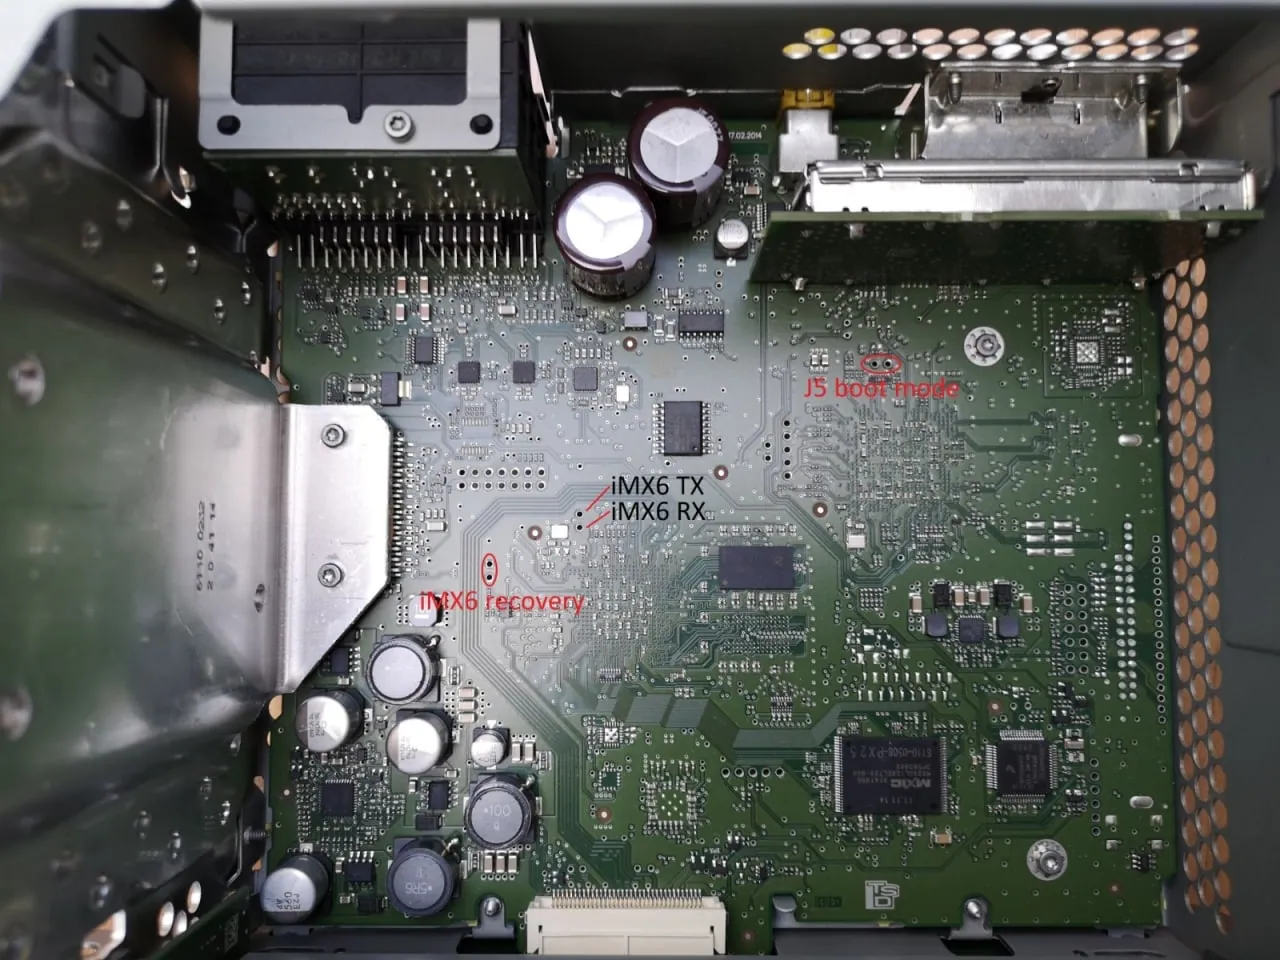
- Insert two terminals for
TxandRxconnection on the "J5" TTL terminals. - Insert purple lock back to lock new pins.
- Connect
Txfrom MIB toRxin converter. - Connect
Rxfrom MIB toTxin converter. - Connect
Gndfrom MIB toGndin converter. - Connect converter to PC, open Device Manager, check what's the COM port number.
- Start PuTTY, set connection type to Serial, input port name, set baudrate to
115200bps, start connection. - Connect QuadLock to confirm that the serial communication is working and you can see logs from MIB on your PC while the main unit is in boot loop.
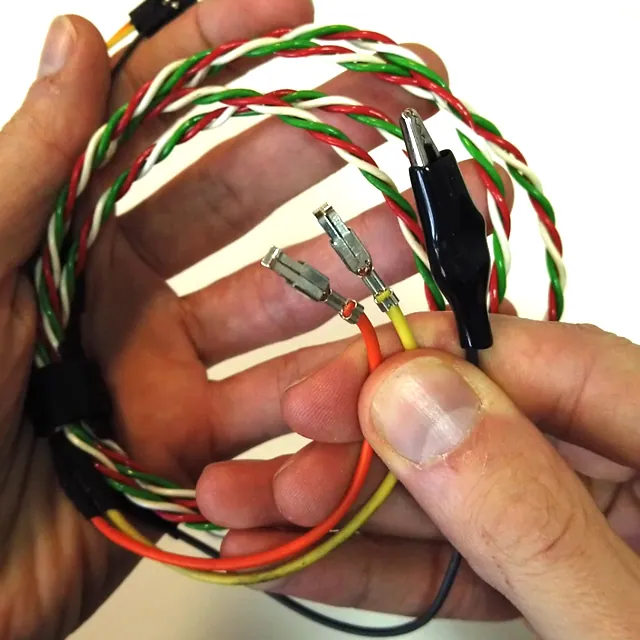 | 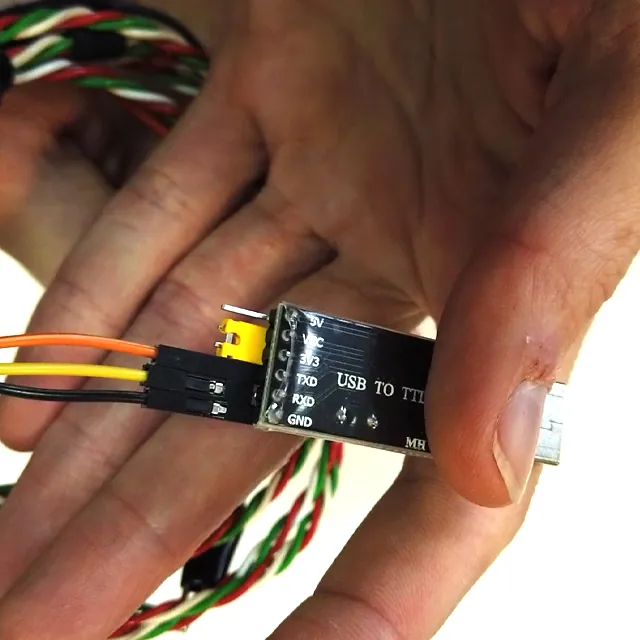 | 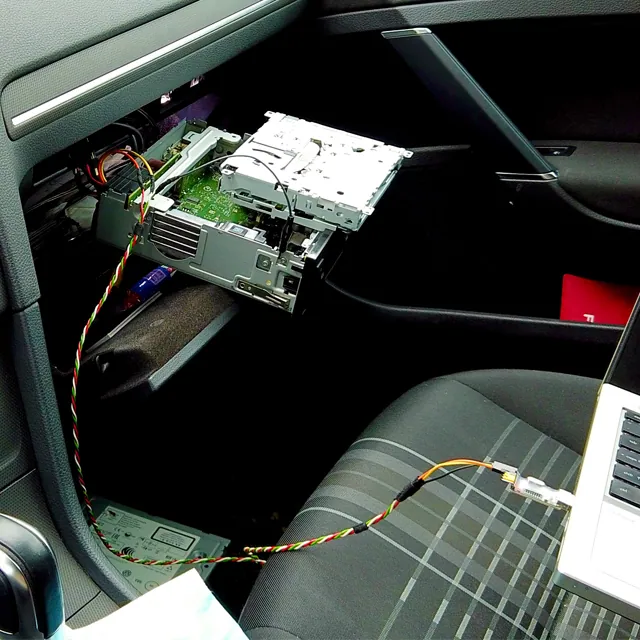 | 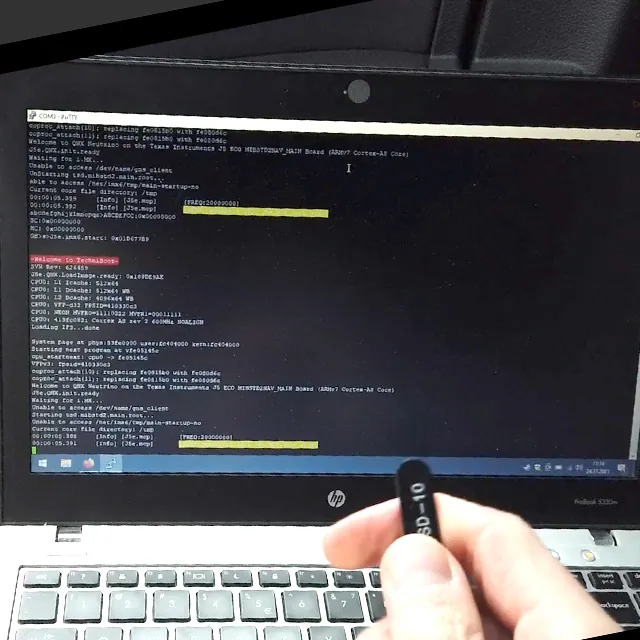 |
|---|
2
Enter recovery Menu
- Turn the ignition on. If you have Kessy (keyless ignition) make sure that the key stays in the vehicle at all times (here's why: Kessy & Updates).
- Disconnect QuadLock.
- Insert prepared SD card to
SD1port. - Make sure that the serial connection on your PC is still active.
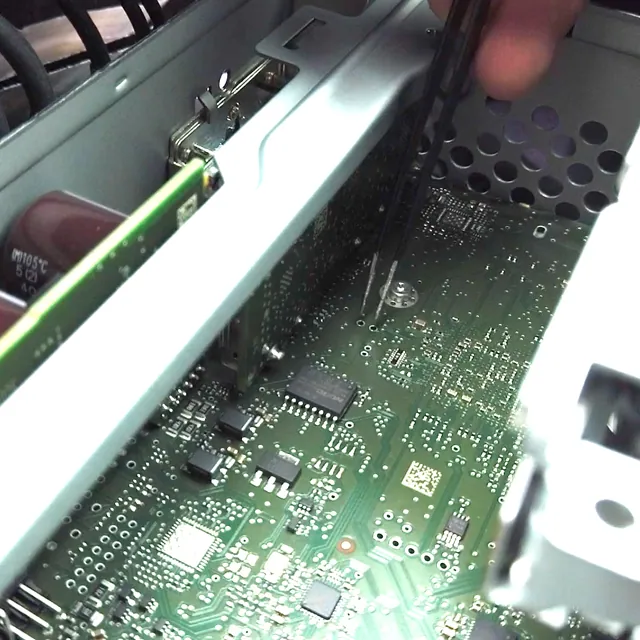
- Use tweezers to short two point on the main board.
- Connect QuadLock while the tweezers are still shorting the main board.
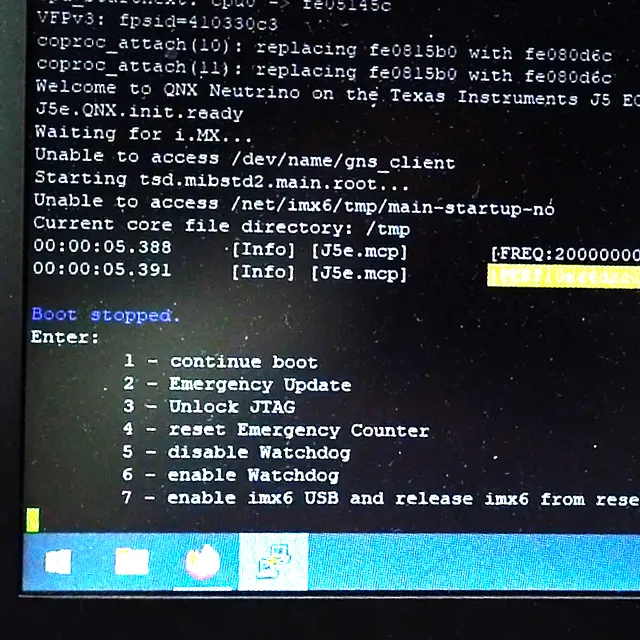
- In Putty you should see a recovery menu with 7 options.
Restore system
- While in recovery menu press
2then in Putty to selectEmergency Download. - MIB should start in
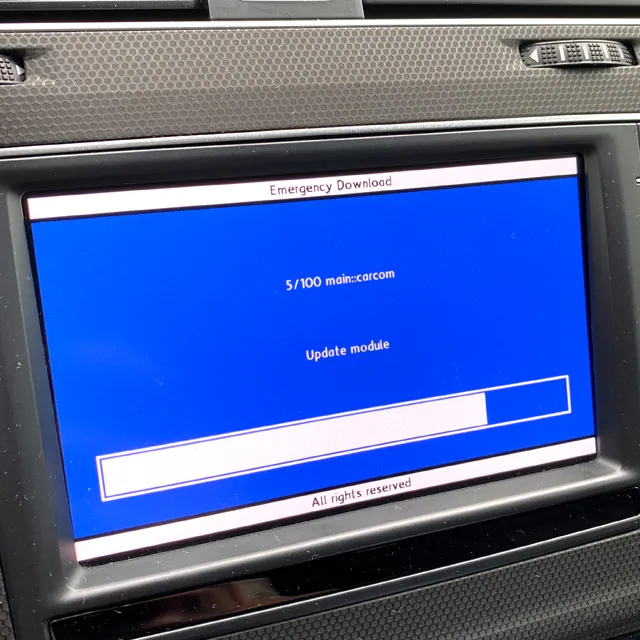
Emergency Downloadmode and should immediately start system recovery. This will take around 30 minutes. It will perform download of around 100 firmware parts. - MIB will reboot before installing last 2 parts.
- After the reboot you should see normal update screen and last 2 parts will be installed (
cpu::emergencyandmain::emergency) and MIB will reboot. - Now you should boot into working system.
- After the reboot you will see update raport, which you can can exit with the arrow in upper-right corner, next press
Cancel. Unit will reboot. - Now start a normal update as some modules may still need updates.
 |  |  |  |
|---|
After the recovery
Emergency download will overwrite custom changes in your system, like CP patch, SWDL patch, SWaP patch, CID-lock patch, Toolbox, skins and sounds. You will have to apply patches again.
Video tutorial
Community content mirrored from mibwiki.one. Always make a backup before flashing or coding a unit.