JTAG connection to RCC or MMX
MMX JTAG
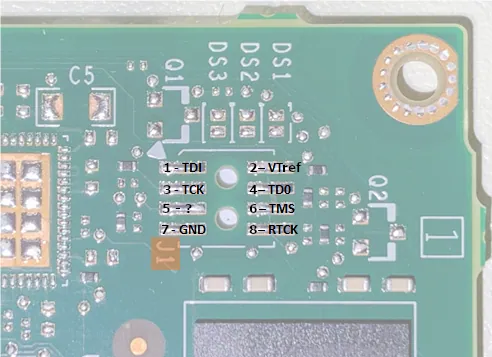
Adding debug header onto MMX board
As MMX JTAG pads don't match a standard ARM debug header you will either directly solder to the pads or create an adapter cable.
For reference, most of standard programmers use standard 10- or 20-pin ARM header like these:
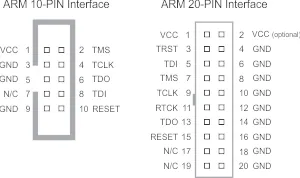
As MMX JTAG header is 8-pin 0.05" pitch connector, similar to the standard 10-pin ARM debugging header just with a different pinout, you can purchase a standard 10-pin ARM connector, pull out the last two pins and solder the 8 remaining:
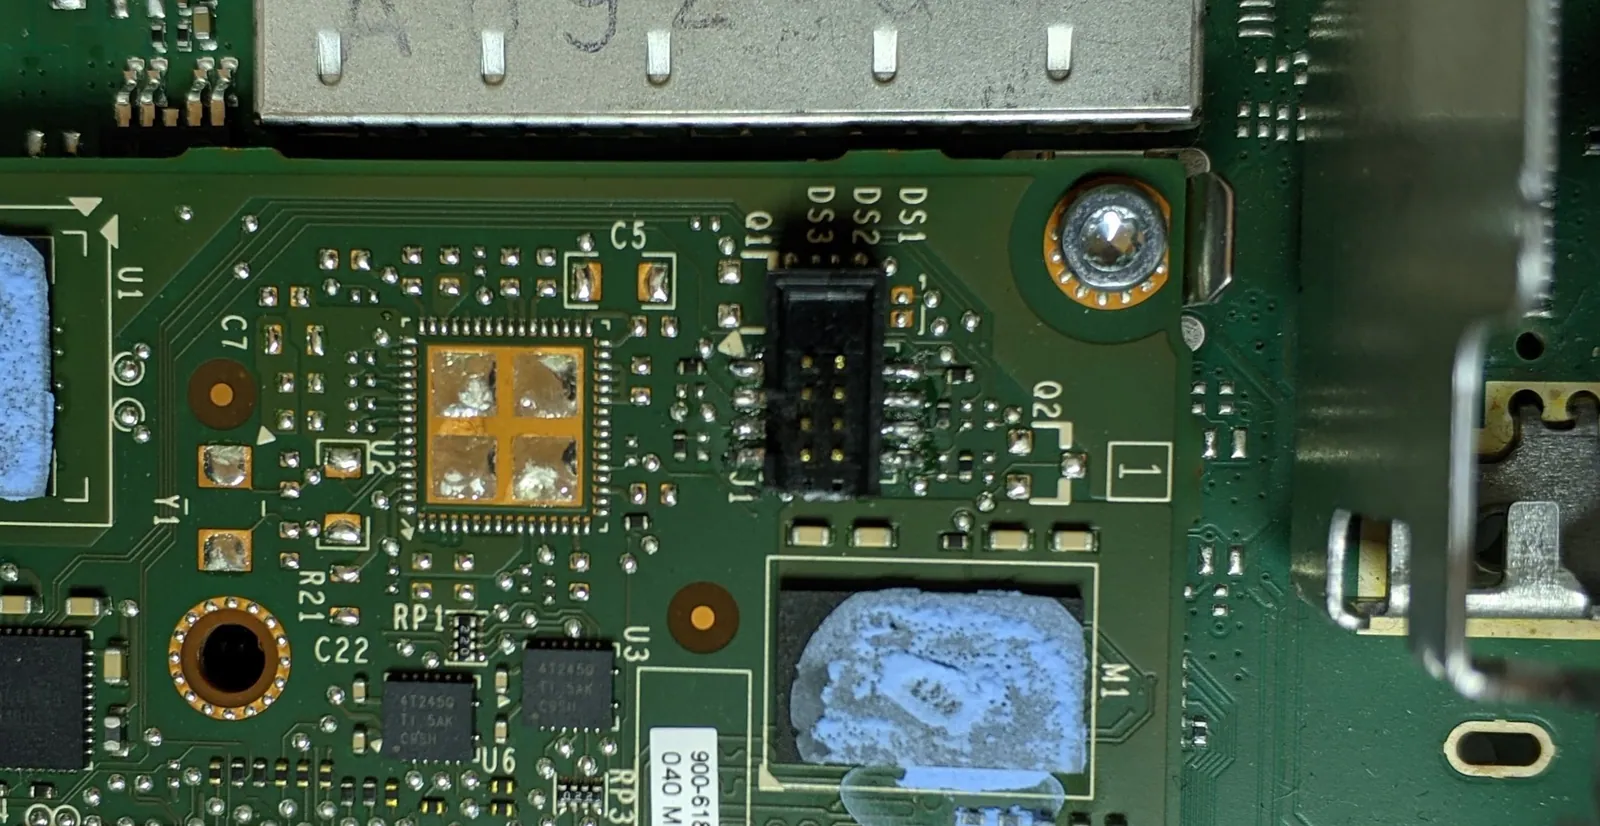
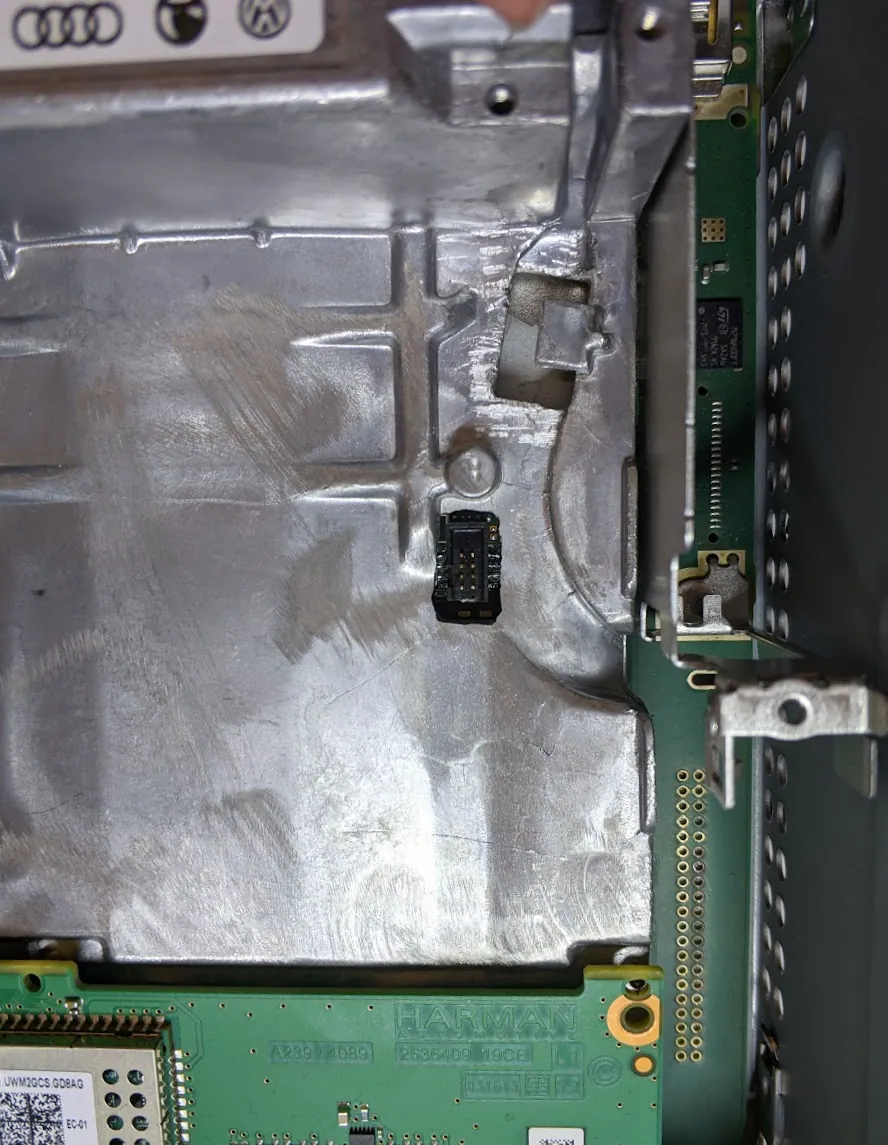
As soon as you solder a header onto the oard, you will need to drill a hole in the heat sink of MMX cover:
Connect to JTAG
Using 10-pin 2x5 Socket-Socket 1.27mm IDC (SWD) Cable - 150mm long , JTAG (2x10 2.54mm) to SWD (2x5 1.27mm) Cable Adapter Board and Premium Female/Female Jumper Wires - 20 x 6" (150mm) you can create a JTAG cable like this:
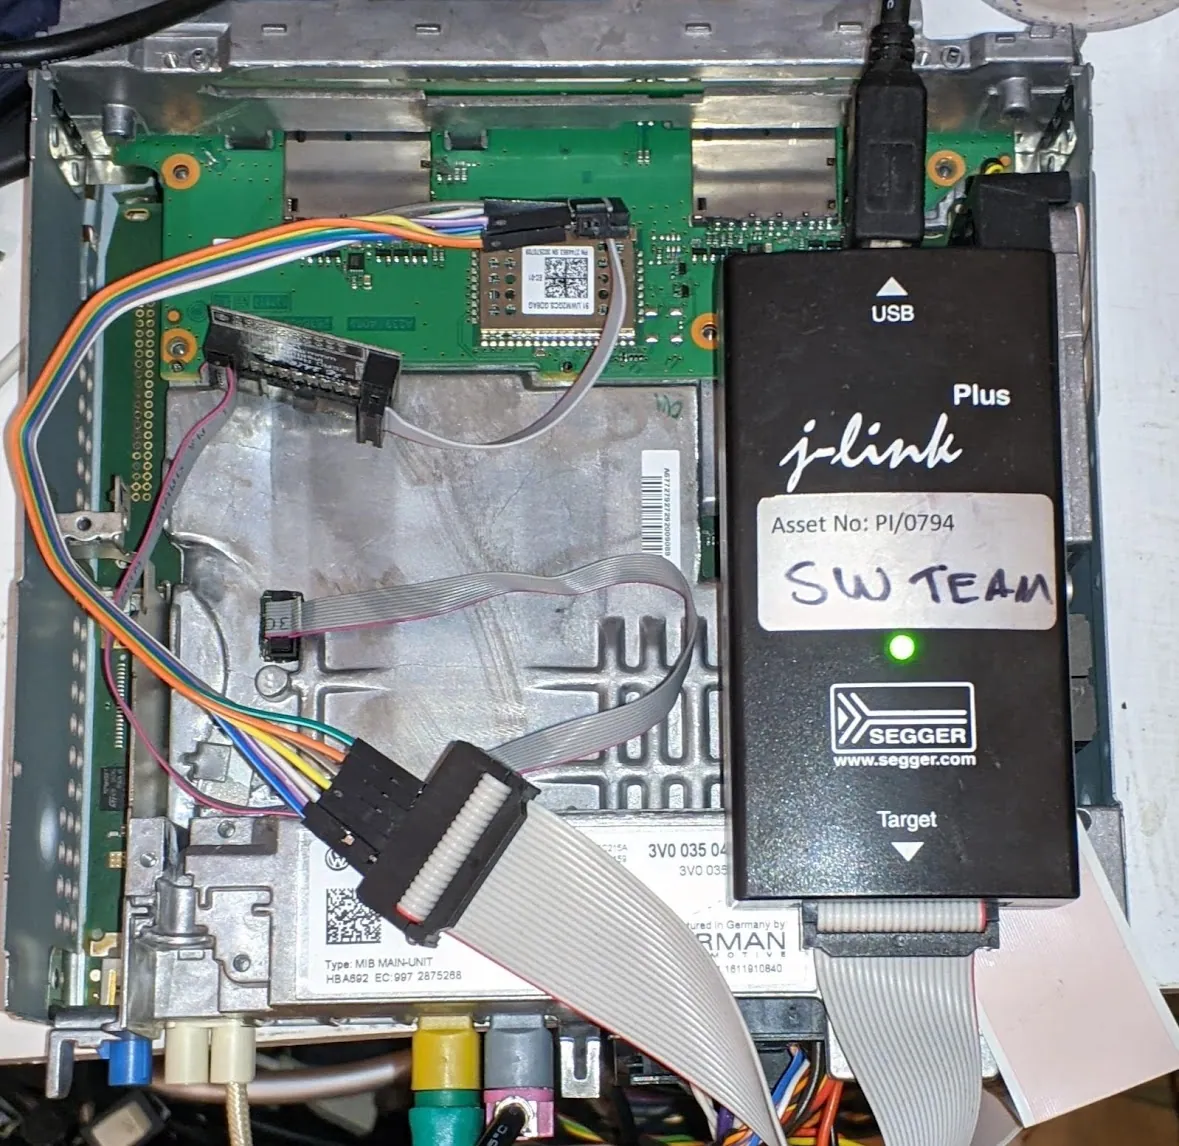
Sure you can make it all simpler by soldering directly to JTAG pins on the board or create a simple direct cable to the JTAG header.
As soon as the connection is ready, proceed with the recovery the MMX board if you've wiped your MMX NOR chip, or just want to debug the code!
Community content mirrored from mibwiki.one. Always make a backup before flashing or coding a unit.